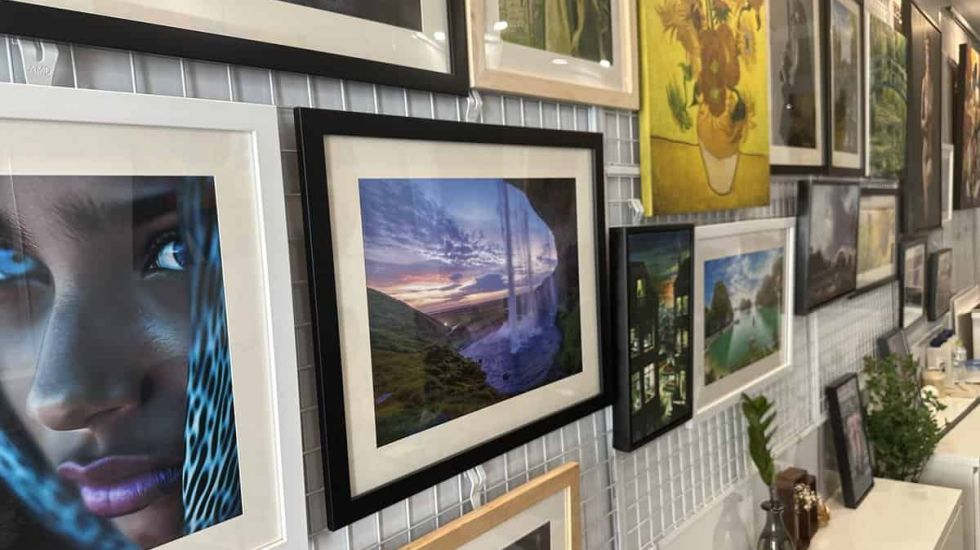

Frankly, it is not really different from printing at home with your computer. The process of printing art is simple, but should be handled professionally.
Ok, let's cut the crap and the futile explanations that take hours, we just go straight to it. It is simple, you'll see.

The first step is the print layout. We use Photoshop, not an expensive dedicated software: they cost an arm and a leg, and don't do it better, anyway. The final result is all that counts.
The image, at maximum resolution, is placed on the print board. Here, it is Miss Ha at her specialty. We check every detail before processing the print, and the printer is set up to the exact kind of surface we will print on. Here, cotton canvas 380GSM (that's Grams Per Square Meters), matte gesso.
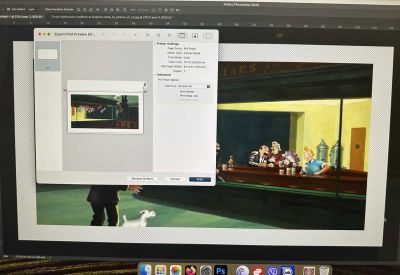
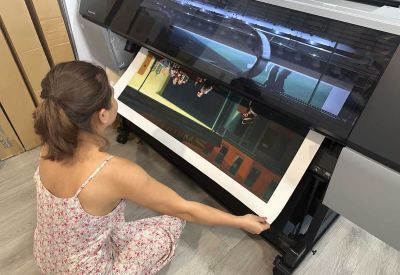
The printing in itself is usually fast. We let a 5 cm margin (2 inches) around the print, to allow stretching on the wood frame that will receive it.
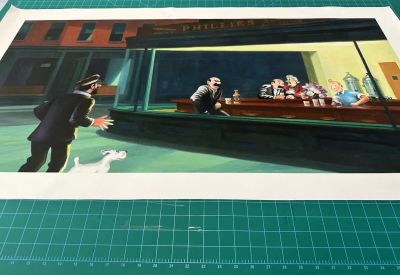
Once printed, the ink still has to dry. It is dry to the touch within a few minutes. That said, the inks aren't really dry, and still needs to evaporate. It is a good habit to let them dry a day before applying a varnish coating. But not too long because if it dries too much, the varnish will not penetrate and mix with the pigments, so no more than 3 days.
Rule: varnish between 24 and 78 hours. Ideally, just after 24 is best.
The rule of the thumb is that a regular printer uses approximately 1.25 centiliters of ink per square meter. It is very thin, so easy to scratch - unlike oil paint. That is why we are applying a varnish too.
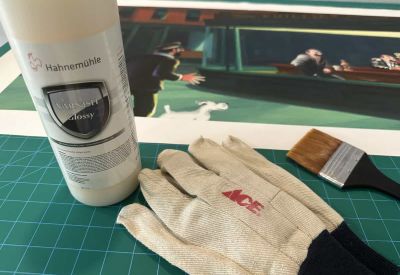
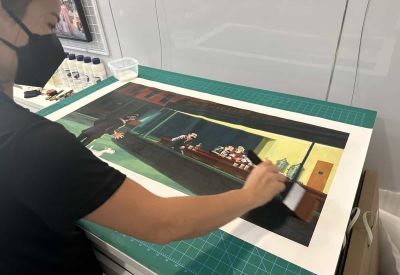
The varnish we use is German. The name's Hahnemühle varnish. After trying many of them, there are only 2 brands that prove of superior quality. They cost 4 times the price of a regular varnish, but it is worth it. It has elasticity, resistance, and a good UV protection.
We apply 2 layers of coating, just to uniformize the varnish. I like to mix satin and matte varnish for a better result, but it really depends on the artwork.
And basically, that's it. Now you know.